How the Pros Insulate an Attic
Insulating your attic is one of the most cost-effective ways to boost your home’s energy efficiency. If you’ve been wondering how to insulate an attic without wasting time or money, you’re not alone. Many homeowners are surprised at how much energy—and comfort—they gain by sealing and insulating this often-overlooked space.
This guide will walk you through each step of the process, from prep work to installation, and help you decide when it’s worth calling in a professional.
Why Attic Insulation Matters
Your attic acts as a thermal barrier between your living space and the outside world. Without proper insulation, heated or cooled air escapes through the roof, forcing your HVAC system to work harder—and your energy bills to rise. Adding or upgrading insulation can reduce that heat transfer, making your home more comfortable and efficient year-round.
According to Energy Star, attic insulation can save homeowners up to 15% on heating and cooling costs.
Step 1: Inspect Existing Conditions
Before you learn how to insulate an attic, start by evaluating what’s already there.
- Check insulation depth and type: If you have less than 10 inches of loose-fill or 6 inches of fiberglass batts, you may need more.
- Look for signs of moisture: Mold, condensation, or wood rot suggest leaks or poor ventilation that must be addressed before insulating.
- Seal air leaks: Use foam or caulk to seal around light fixtures, vent pipes, electrical wiring, and attic hatches. Insulation alone won’t stop air movement.
If you’re unsure what you’re looking at, a professional energy audit or blower door test can help identify issues.
Step 2: Choose the Right Insulation Material
Understanding the pros and cons of each material is key when deciding how to insulate an attic efficiently. Here are the most common types:
- Blown-in cellulose: Made from recycled paper, great for filling irregular spaces.
- Fiberglass batts: Easy for DIYers, affordable, but can leave gaps around obstructions.
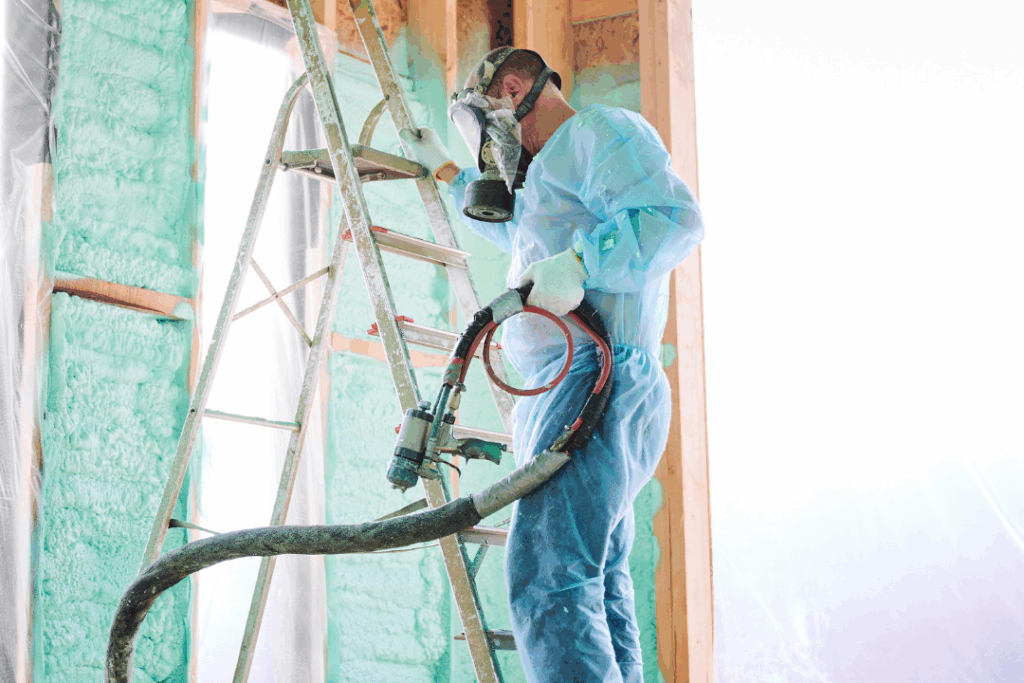
- Spray foam: Offers top-tier air sealing and insulation but requires professional installation.
- Mineral wool: Fire-resistant and moisture-tolerant, but more expensive than fiberglass.
Consider your climate, attic structure, and budget when choosing the right option.
Step 3: Prepare the Space
Safety and setup are key for a smooth installation:
- Wear protective gear: Gloves, goggles, long sleeves, and a mask are essential.
- Ensure proper ventilation: Keep soffit vents clear to allow airflow. Consider adding baffles to prevent insulation from blocking these vents.
- Install air barriers: Use foam board or sealing tape on attic hatches or knee walls to create a consistent envelope.
This prep work ensures that your insulation performs at its best.
Step 4: Install the Insulation
Here’s where you put everything into action:
- For blown-in insulation: Use a machine to evenly distribute loose-fill across the attic floor, reaching your target R-value. Be careful not to cover recessed lighting unless it’s rated for insulation contact (IC-rated).
- For fiberglass batts: Lay batts between joists without compressing them. If adding a second layer, place it perpendicular to the first for full coverage.
- For spray foam: Professionals will apply foam to the underside of the roof deck or attic walls, creating a sealed thermal envelope.
Aim for an R-value of R-38 to R-60 in most regions. Not sure what R-value you need? Use this climate zone map as a reference.
Step 5: Post-Installation Checks
After you’ve finished insulating:
- Inspect coverage: Ensure there are no low spots or compressed sections.
- Check ventilation again: Make sure soffits, ridge vents, or gable vents are unobstructed.
- Monitor for moisture: A humidity sensor can help detect hidden moisture buildup before it becomes a problem.
This final review ensures long-term performance and peace of mind.
When to Call a Professional
While DIY projects can be rewarding, there are times when it’s best to call in a pro:
- You’re unsure how to insulate an attic with complex rooflines or HVAC systems in the attic.
- You suspect mold, pests, or significant air leakage.
- You’re considering spray foam, which requires special equipment and training.
- You want a complete energy audit, including blower door testing and infrared scanning.
A professional can save time, ensure code compliance, and maximize energy savings with expert recommendations and proper installation.
Insulate Smart, Save Big
Learning how to insulate an attic is a smart move for any homeowner. Whether you go the DIY route or hire a pro, proper insulation keeps your home comfortable, lowers your energy bills, and protects your investment.
Ready to make your attic work for you? Reach out to AtticNerds for a free consultation or audit—and take the first step toward a better-insulated, more efficient home today.
